Click Here to Launch a Live Demo to see how Presets work.
Preset Types
The following types of Presets are available in Print.App:- Color: Limit the colors that can be applied to an Object.
- Font: Limit the fonts that can be applied to a Text Object.
- Graphics: Curates the images that can be inserted into a Clipping Mask.
- Text: Creates a predefined set of text options that can be applied to a Text Object.
- Formatting Tools: Limit the formatting options that should be displayed by any Object. For example, you can limit the Text Formatting options to only Bold, Italic, and Color changes.
Creating a Preset
Presets are created in the Designs tab, so in your Design tab, you will see a Add a Preset Option button. Click on it to open the Presets panel.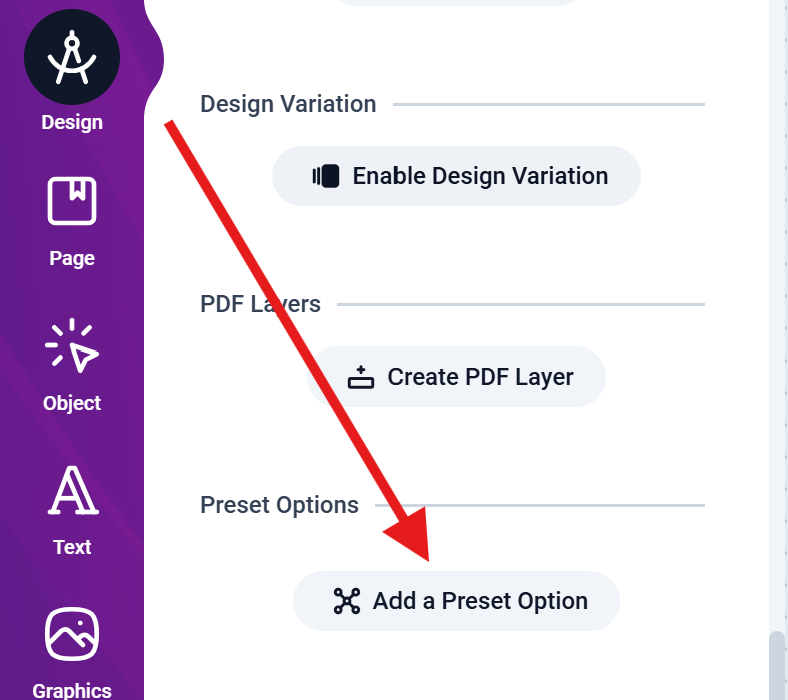
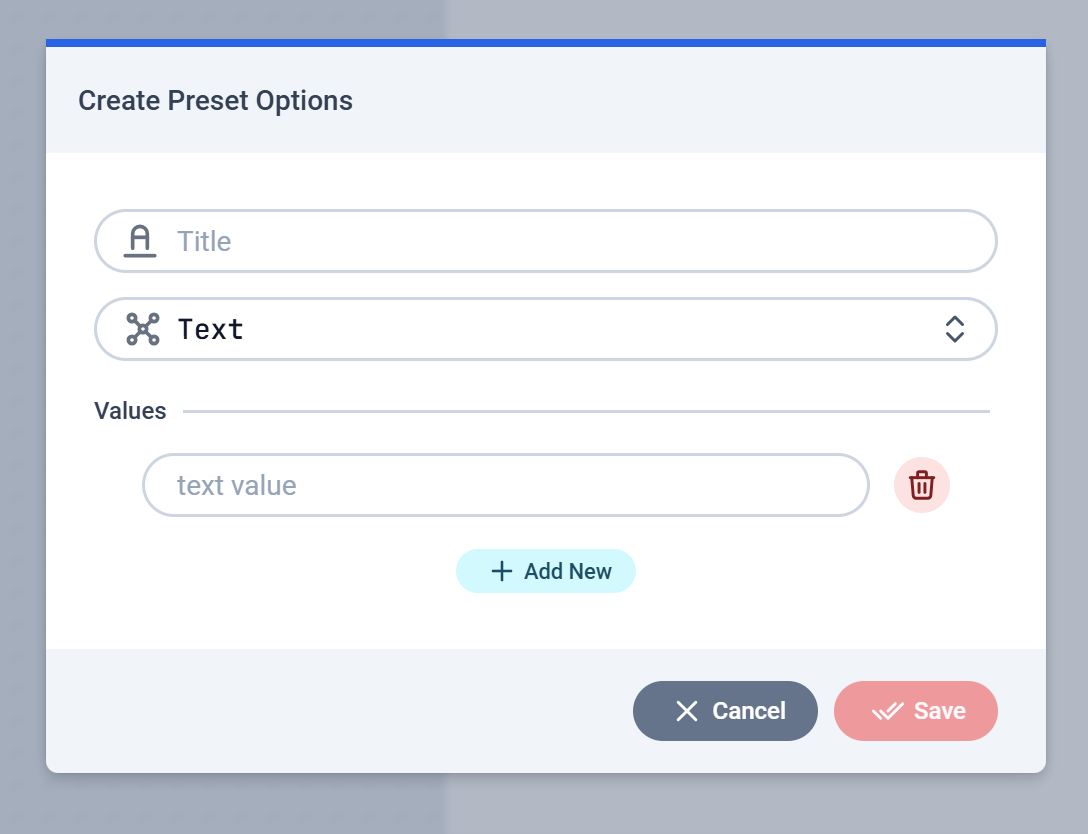
Depending on the type selected, the options below the dropdown will change.
Color Preset
With a Color Preset, you limit the colors that can be applied to an Object. Select the Color option from your dropdown and you will see the your color groups. If you don’t have any color group in your account, this will be empty, so you need to have a color group created first. Some are provided by default when you created your account, but if you have deleted them, then you will need to first create one in the admin color section- Select the color group you want to use and click on the Save button to create the Preset.
- Next, jump to the section on Assigning a Preset to an Object.
Font Preset
With a Font Preset, you limit the fonts that can be applied to a Text Object. Select the Font option from your dropdown and you will see a tag selector which will allow you to select fonts to add or remove as shown below: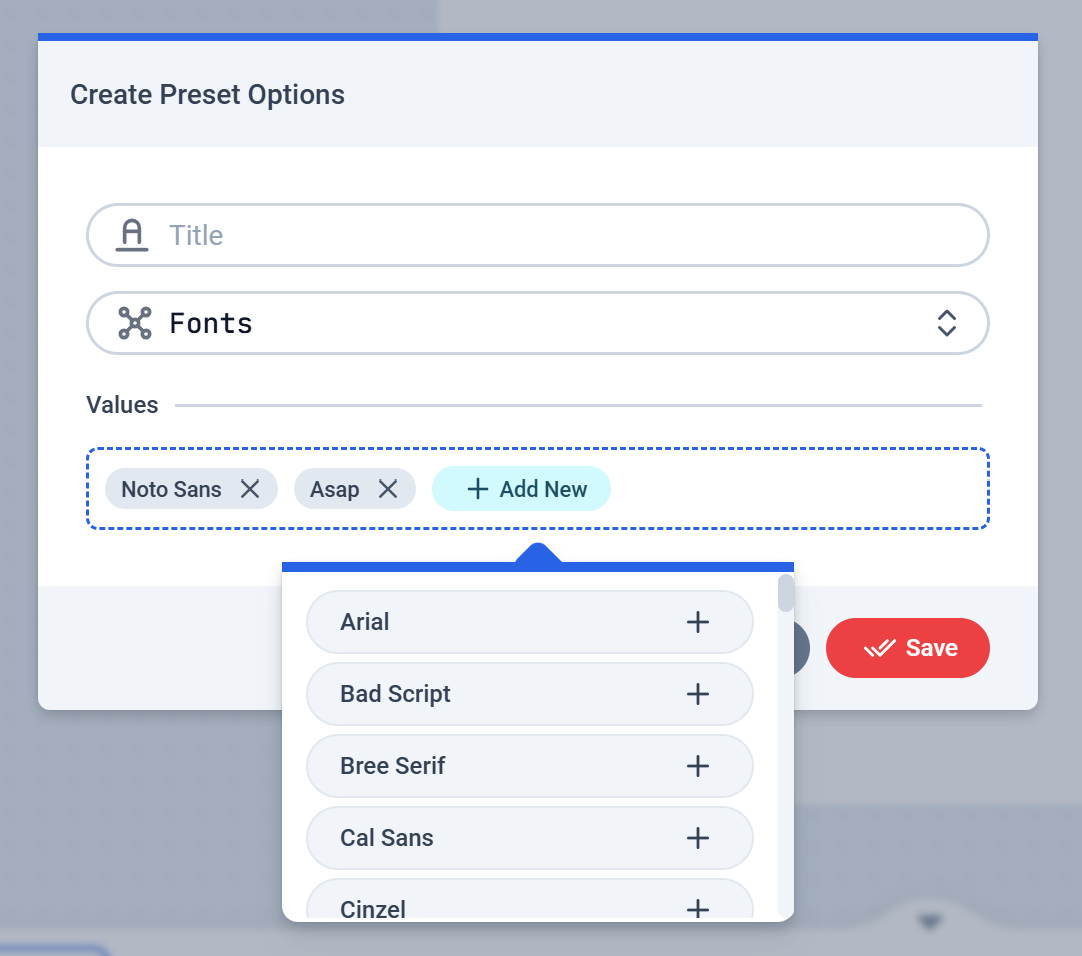
- Add as many or as few fonts as you want and click on the Save button to create the Preset.
- Next, jump to the section on Assigning a Preset to an Object.
Graphics Preset
The Graphics Preset allows you to select a single Graphics Group, from which a customer can click and add into a specific clipping mask. Select the Graphics option from your type selector and you will see a dropdown selector which will allow you to pick any Graphics Group for this preset.- Click on the Save button to create the Preset.
- Next, jump to the section on Assigning a Preset to an Object.
Text Preset
The Text Preset allows you to create a predefined set of text options that can be applied to a Text Object. This is useful when you want to limit the values that can be applied to that Text. For example, a predefined set of Company Position Titles that can be applied to a Business Card. Select the Text option from your type selector and provide your text options. The trash button allows you to remove any text option.- Click on the Save button to create the Preset.
- Next, jump to the section on Assigning a Preset to an Object.
Formatting Tools Preset
By Default, all tools are available on Objects depending on the Object type. The Formatting Tools Preset allows you to limit the formatting options that should be displayed by any Object. For example, you can limit the Text Formatting options to only Bold, Italic, and Color changes.- Select the Formatting Tools option from your type selector and click the Add button to select from the Tool list.
- Click on the Save button to create the Preset.
- Next, jump to the section on Assigning a Preset to an Object.
Assigning a Preset to an Object
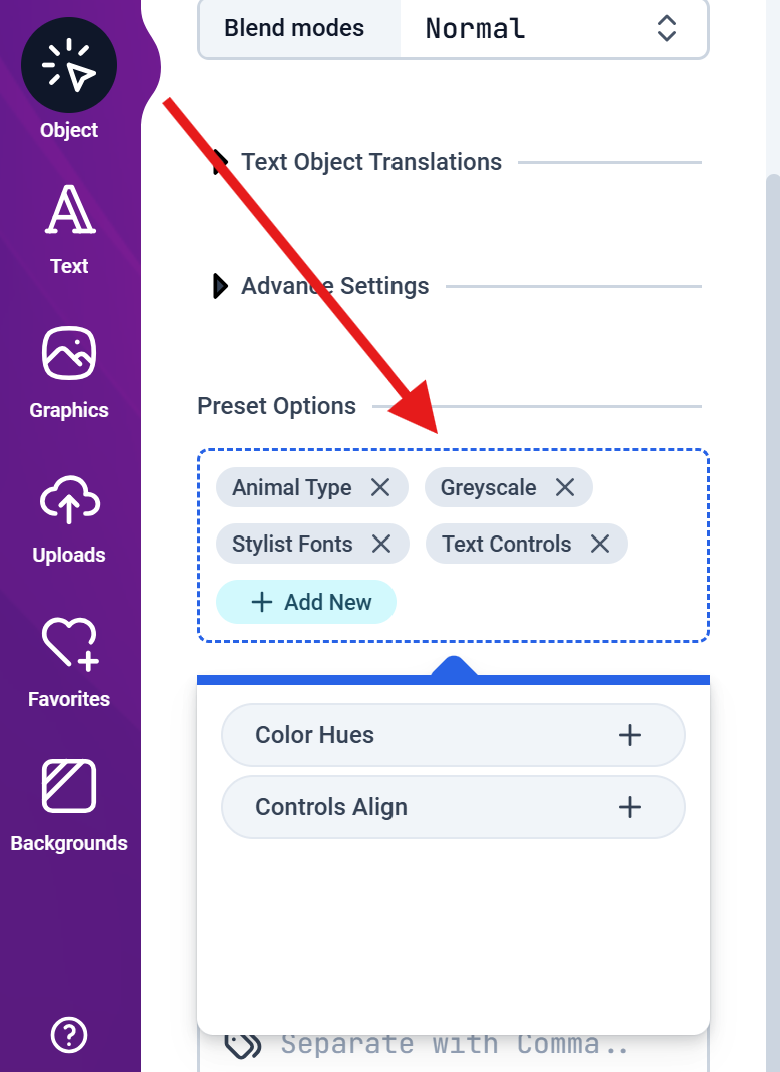
After creating a Preset in the Designs tab, you can assign it to an Object in the Object Settings tab. To do this, Add a new Object to your Canvas like a Text, select the Text and then click on the Object tab on the left side of the Editor. Scroll down and you will find the Preset Options. Click on the Add New button to assign any of the previously created Presets to the Object.