About Webhooks
The Webhooks enables you to easily integrate and connect the Print.App platform to your outside platforms. For instance, you may want to send the PDF file of a project directly to your printer, or save all your user’s uploaded pictures in your DropBox or Google Drive. A Webhook makes this possible by invoking your specified external URL whenever an even happens on the Print.App platform along with the details of such an event for further actions. At the moment, we can notify you when:- A new project is created, i.e when your customer completes a design.
- A file is uploaded by your customer.
Setting up a Webhook
To get started, navigate to the settings page in your Print.App admin and click the Webhooks tab. We need a service URL to send that notification to, for that service to get the file and save in a Google Drive. For this, we can use Zapier, a service that connects different apps and services together. We will create a Zap that listens to the Webhook notification and saves the file in your Google Drive.1
Start
Register or login to Zapier and click the Make a Zap button on the top left hand corner.
A Zap is simply a workflow link you create between apps on Zapier.
You can read more here
2
Add a Trigger
That should take you to the Zap creation dashboard.
Click the Trigger button
3
Select a Trigger
A window should popup, type in Webhook
And select the Webhooks by Zapier option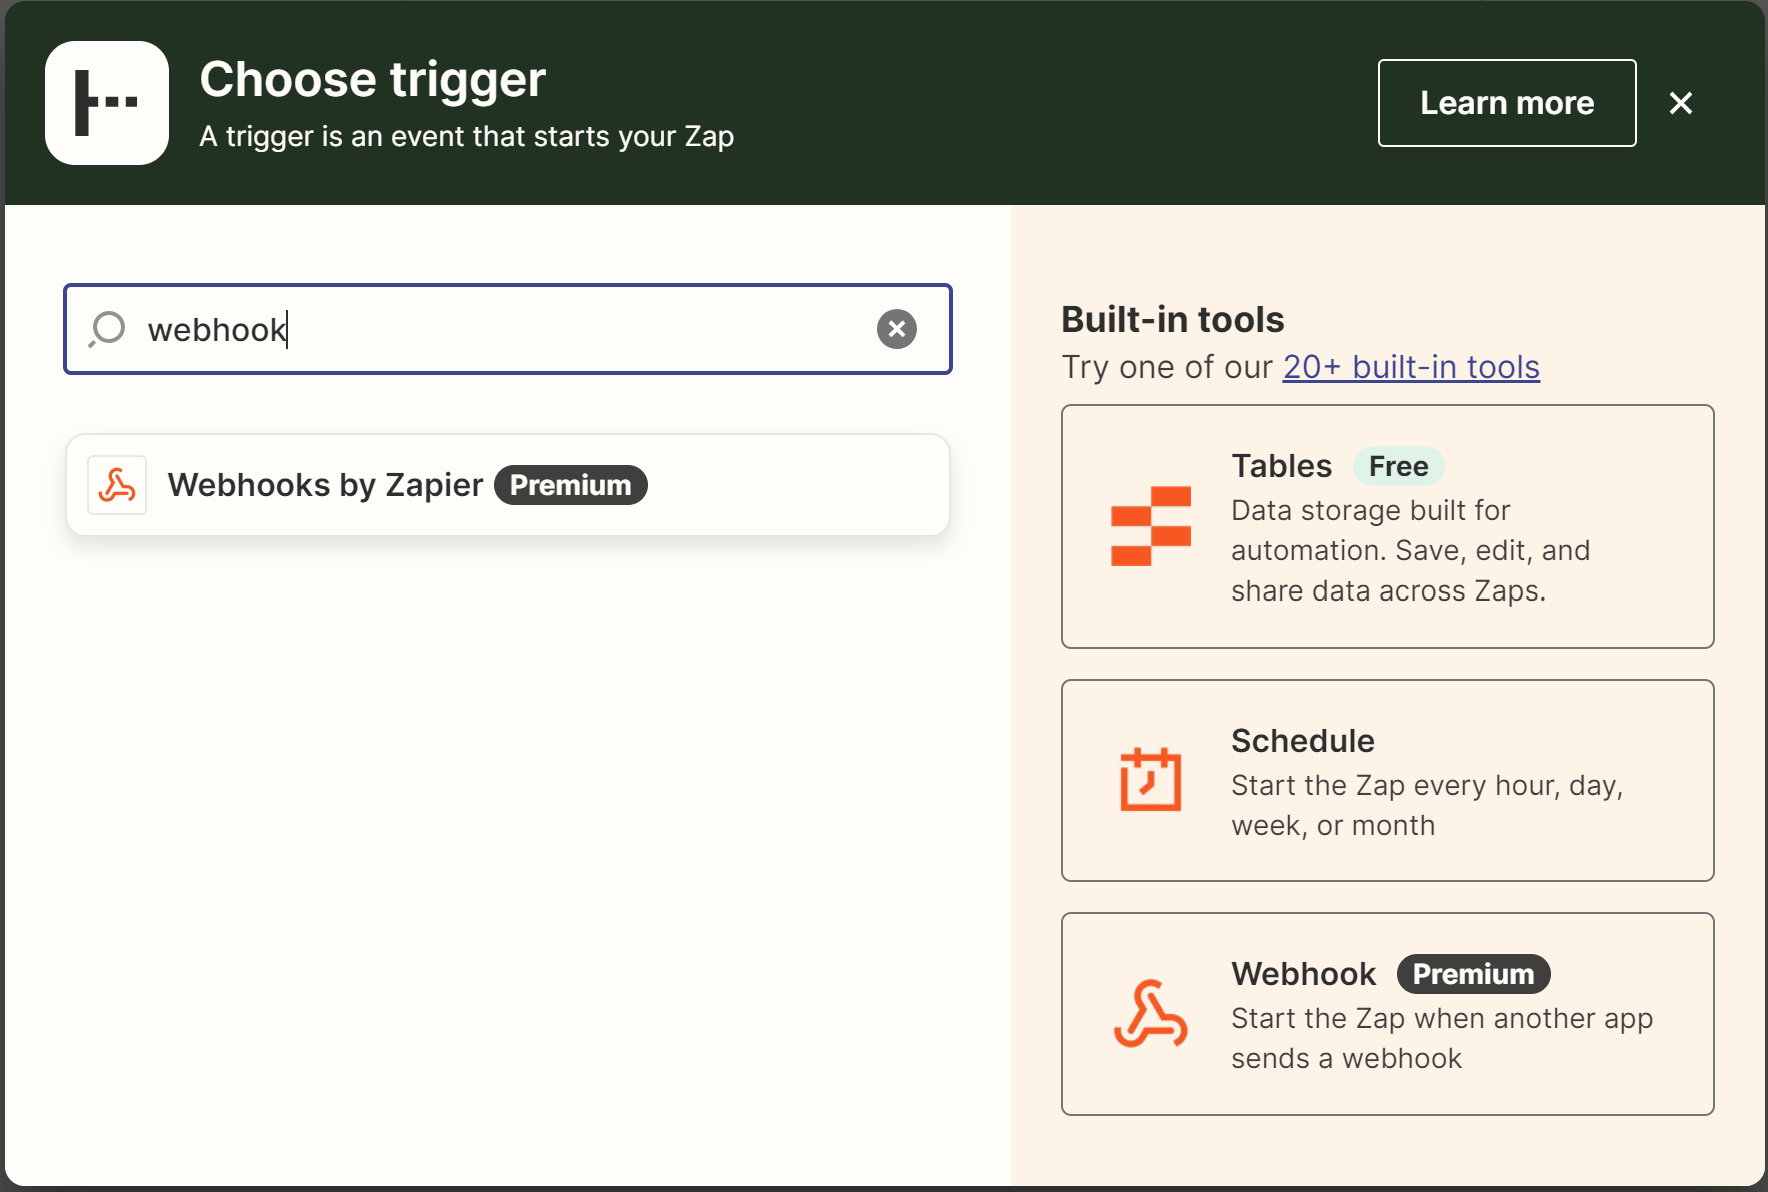
4
Trigger Hook
On the right panel, click the Event and select Catch Hook option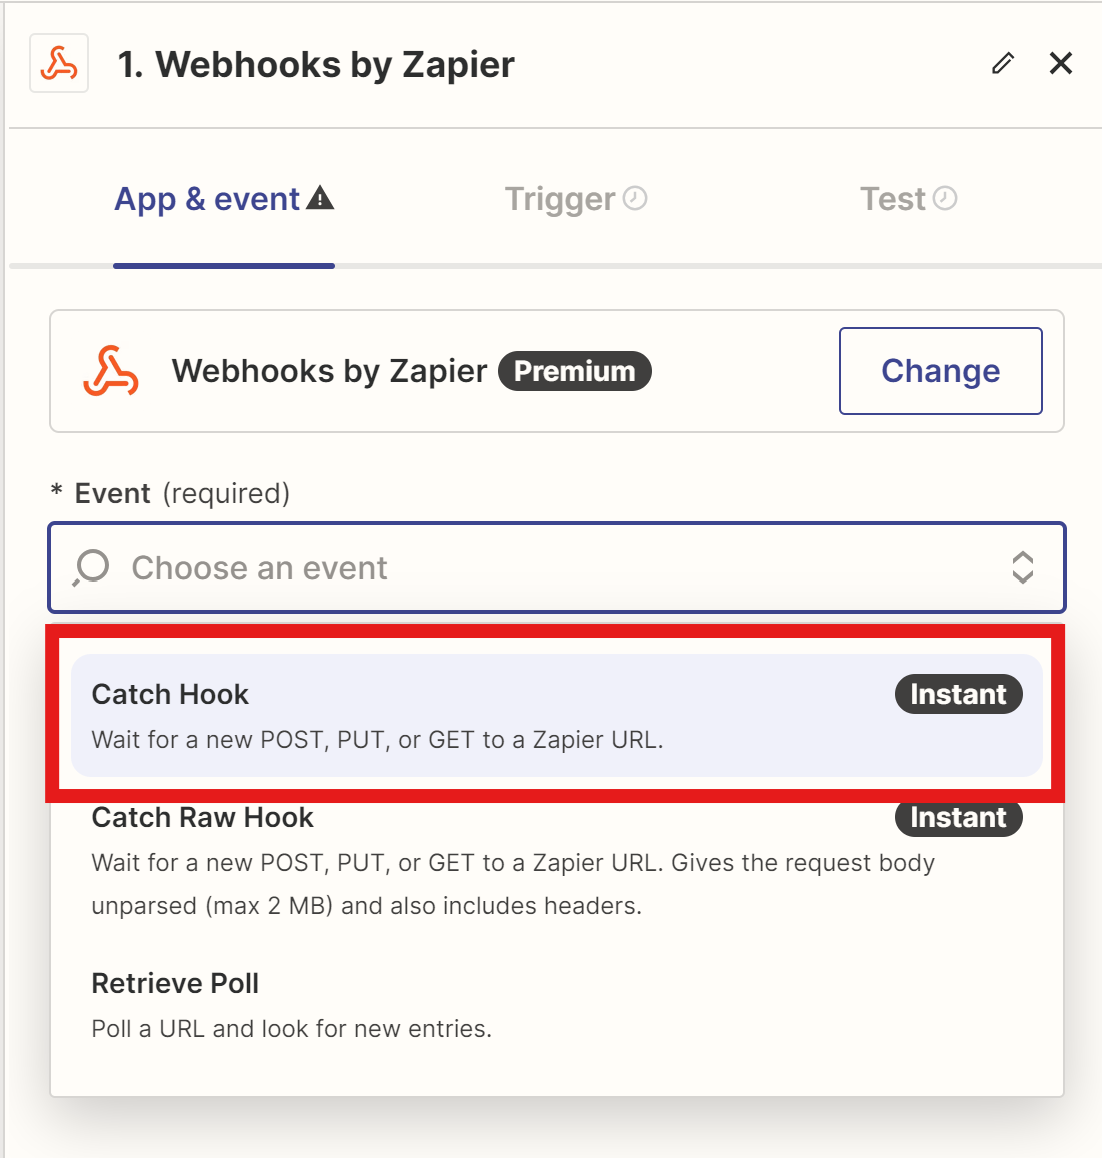
5
Obtain Trigger URL
Click next twice to arrive on the Test tab.
This should give you a URL to send the file to. Copy this URL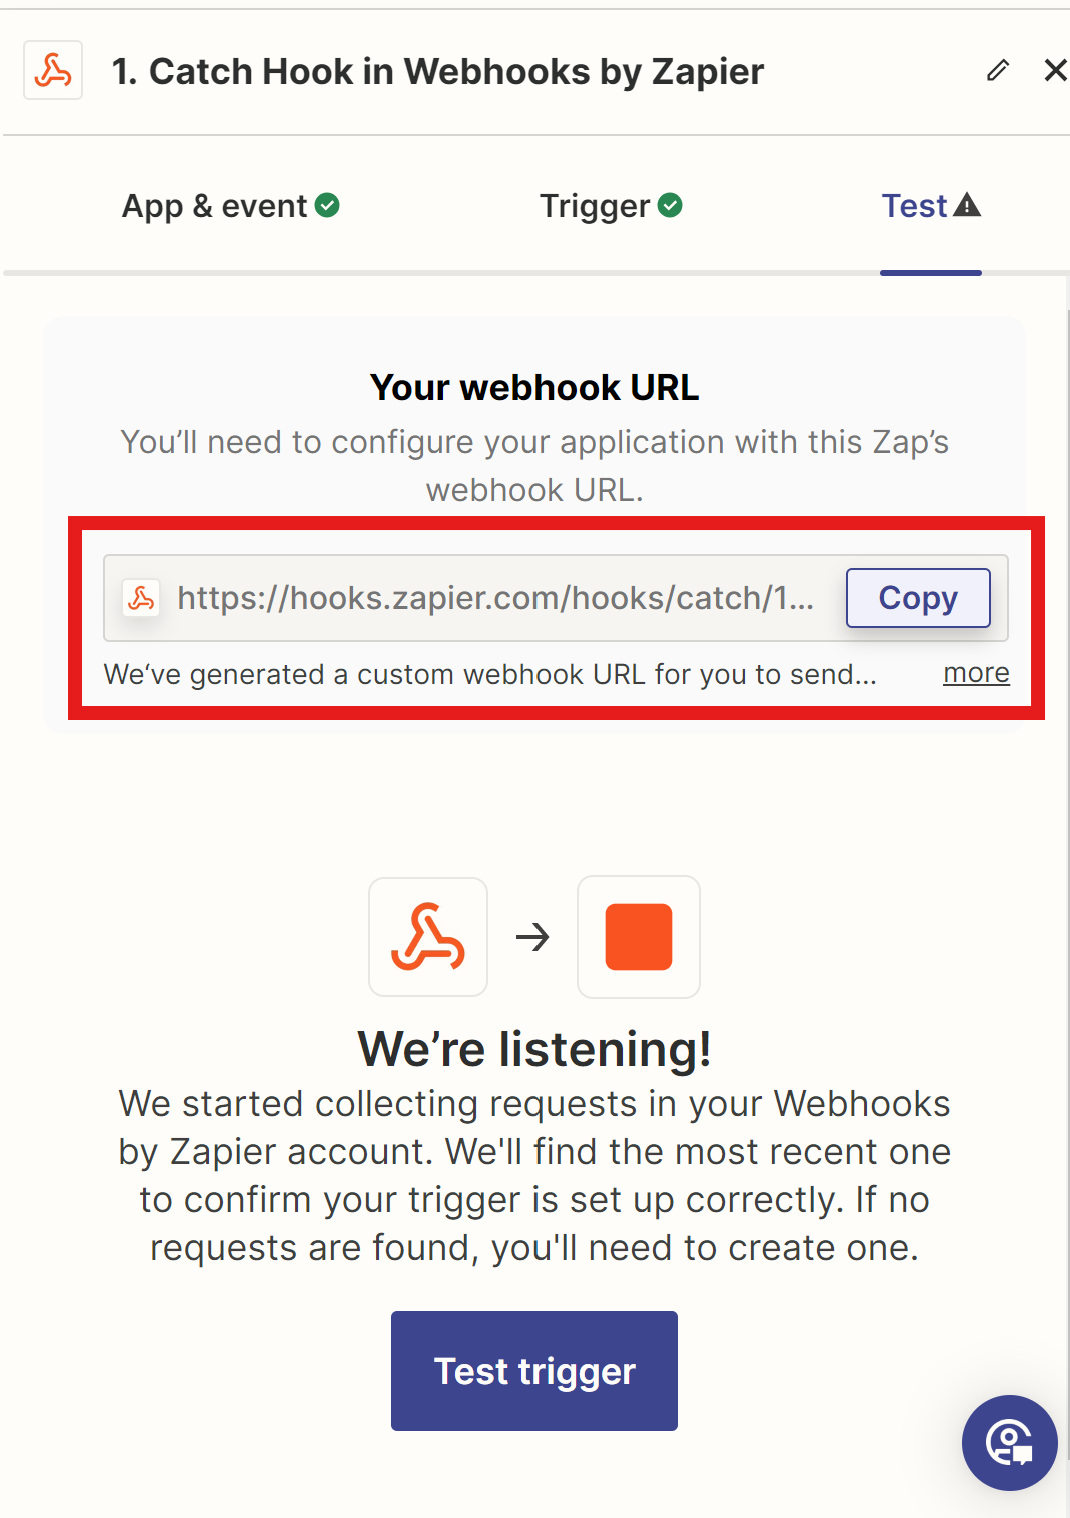
6
Add URL to Print.App settings
Open a new Tab and navigate to Print.App Settings
Click the Webhooks Tab and paste the URL copied from the prior step and save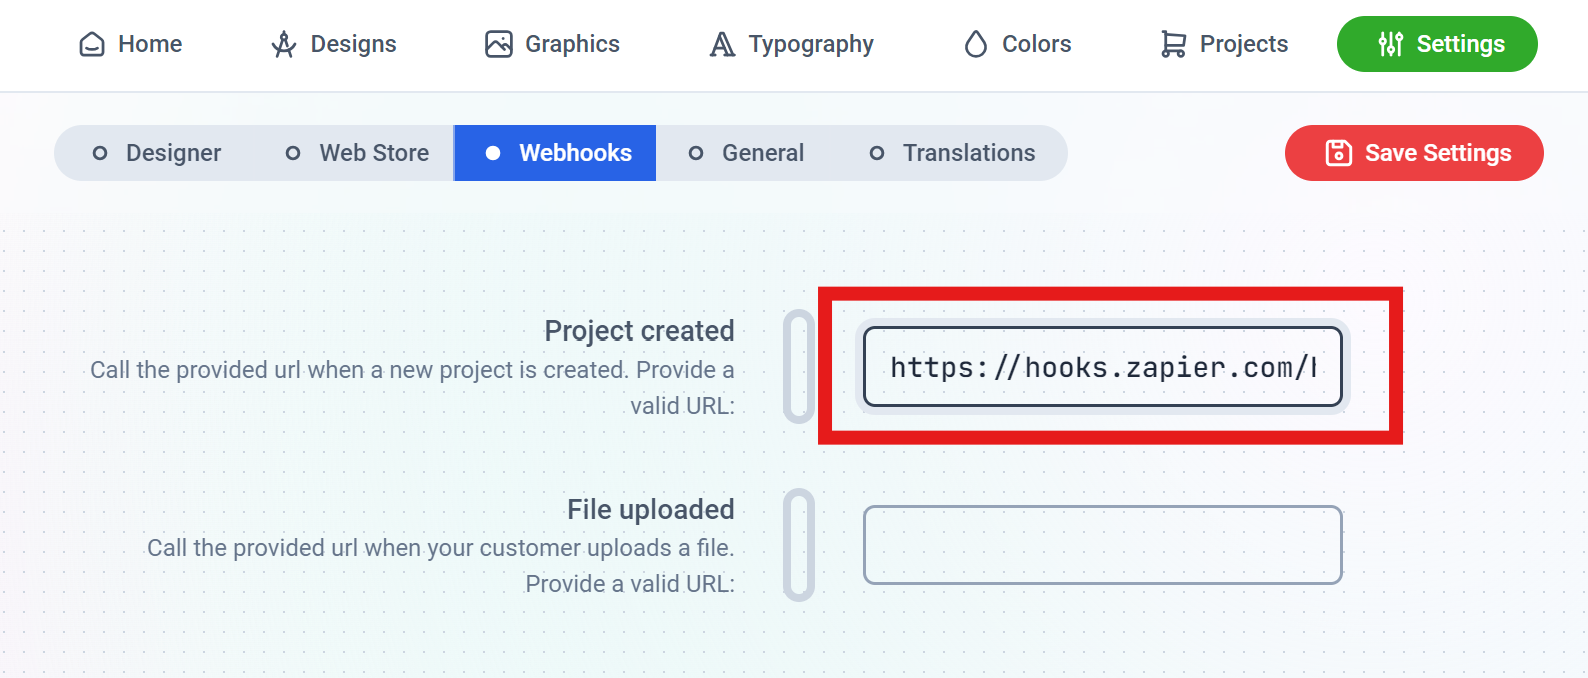
7
Test Trigger
On the Zapier page, click on the Test trigger button. Then quickly create a new customization / project on your store and save. Check the Zapier page, you should see a record from Print.App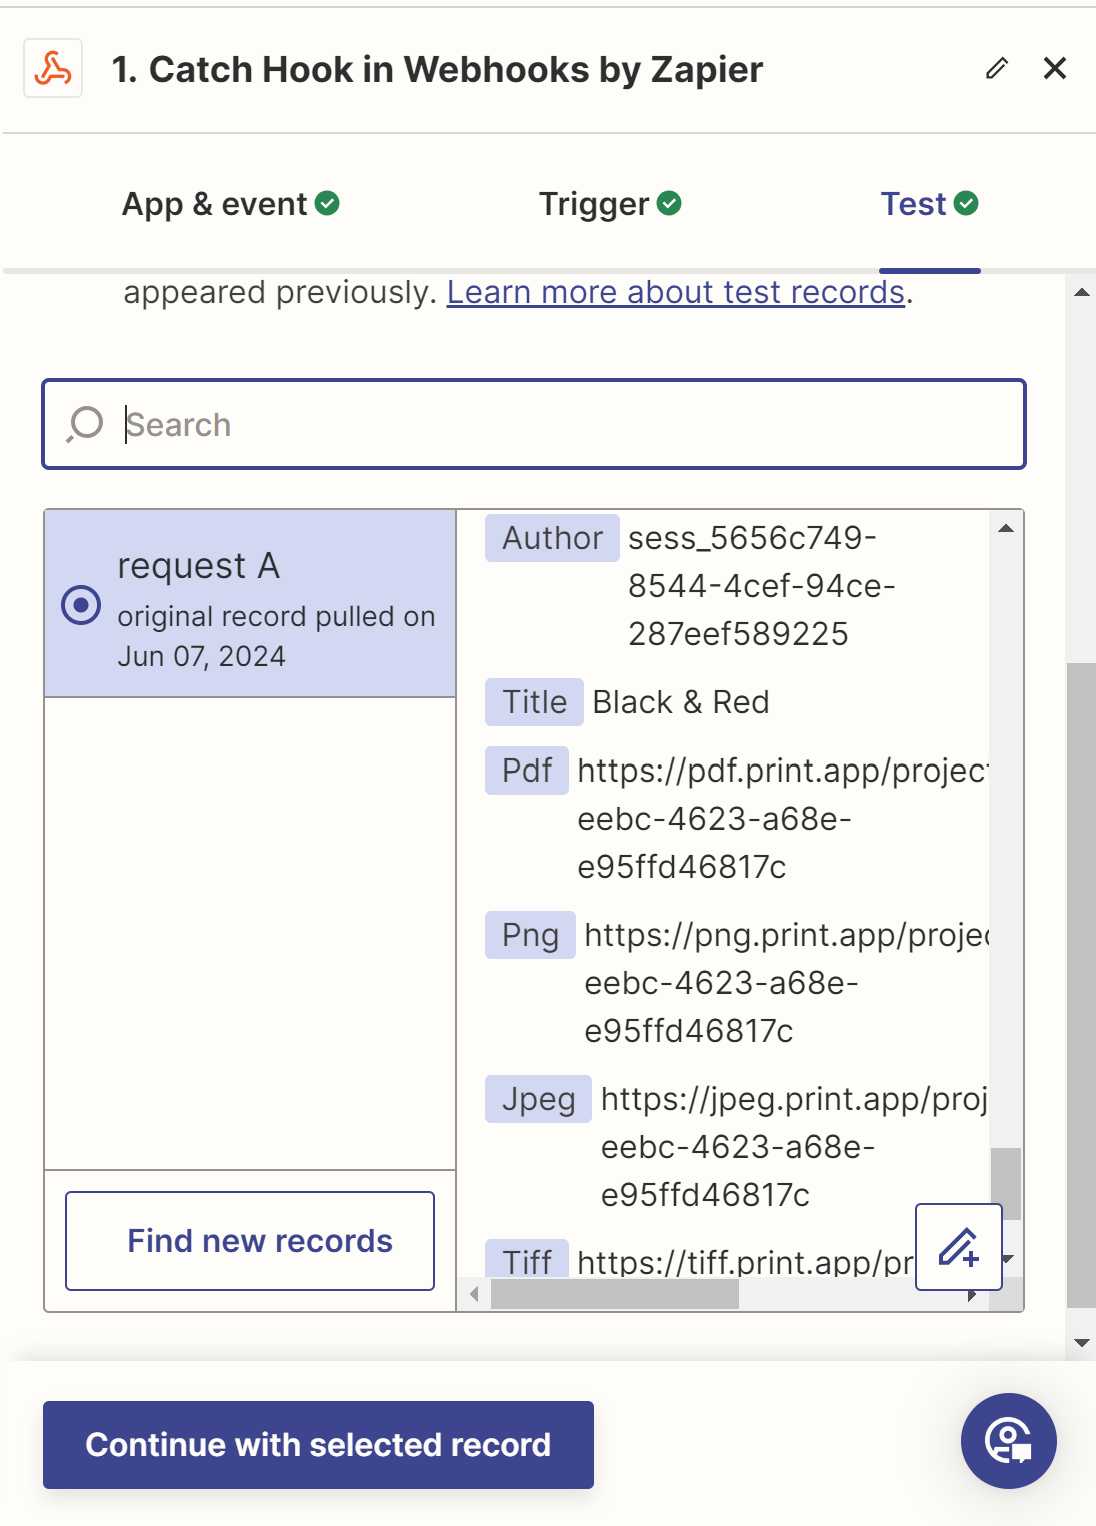
8
Action
Click the Continue with record to choose an Action.
An Action is what happens after the Trigger event and for this, we will select Google Drive. You can opt for any other service you want to save the file to or even send as an email.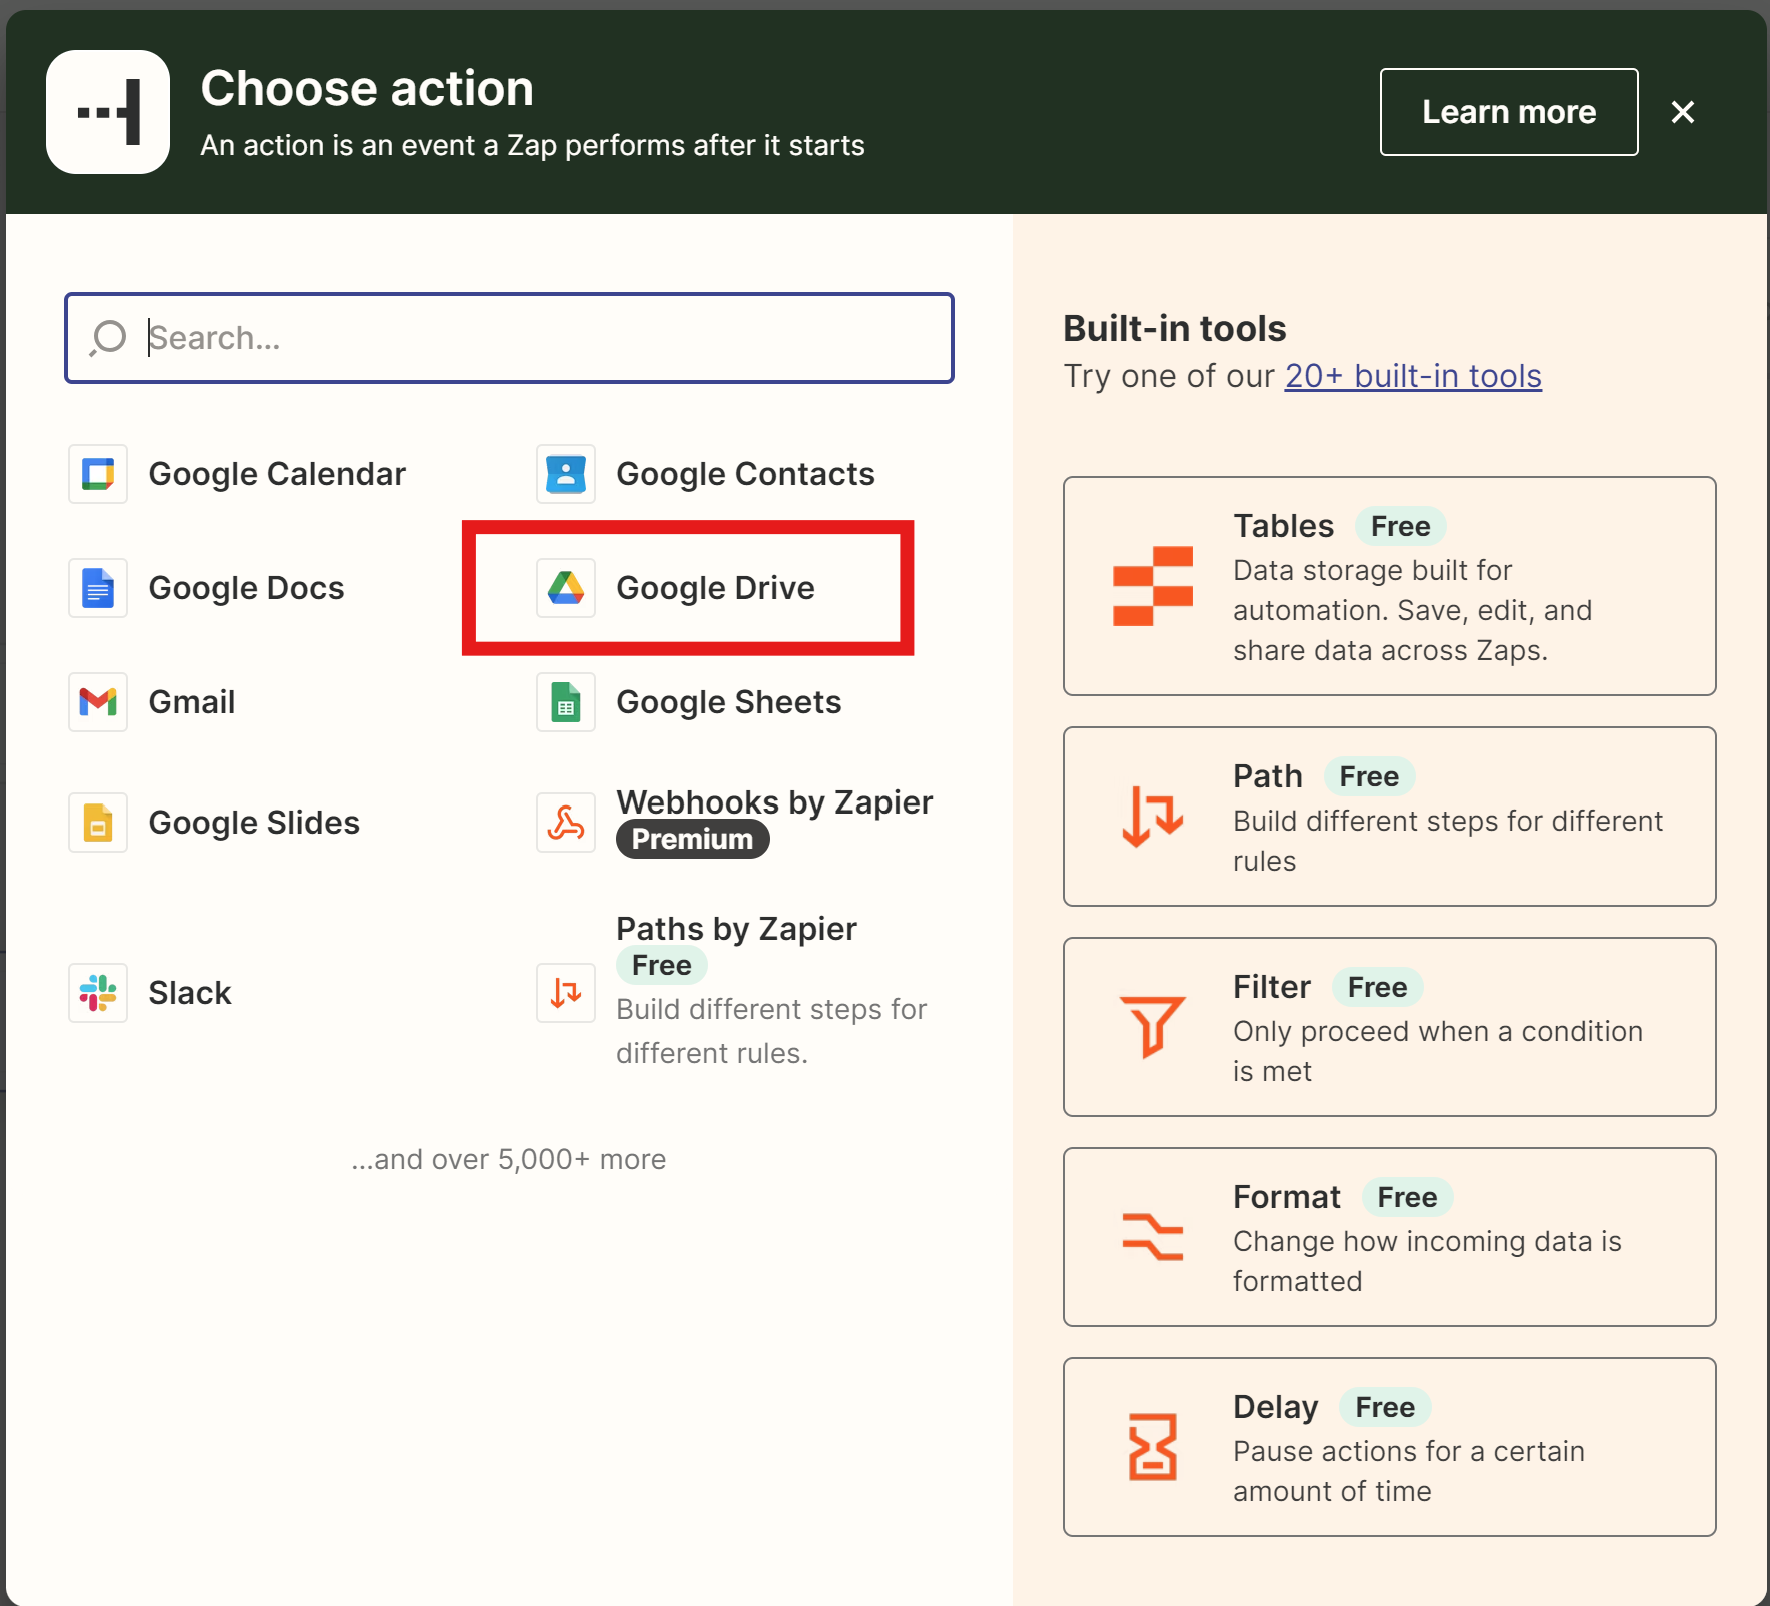
An Action is what happens after the Trigger event and for this, we will select Google Drive. You can opt for any other service you want to save the file to or even send as an email.
9
Google Drive Event
Select Upload File from the event list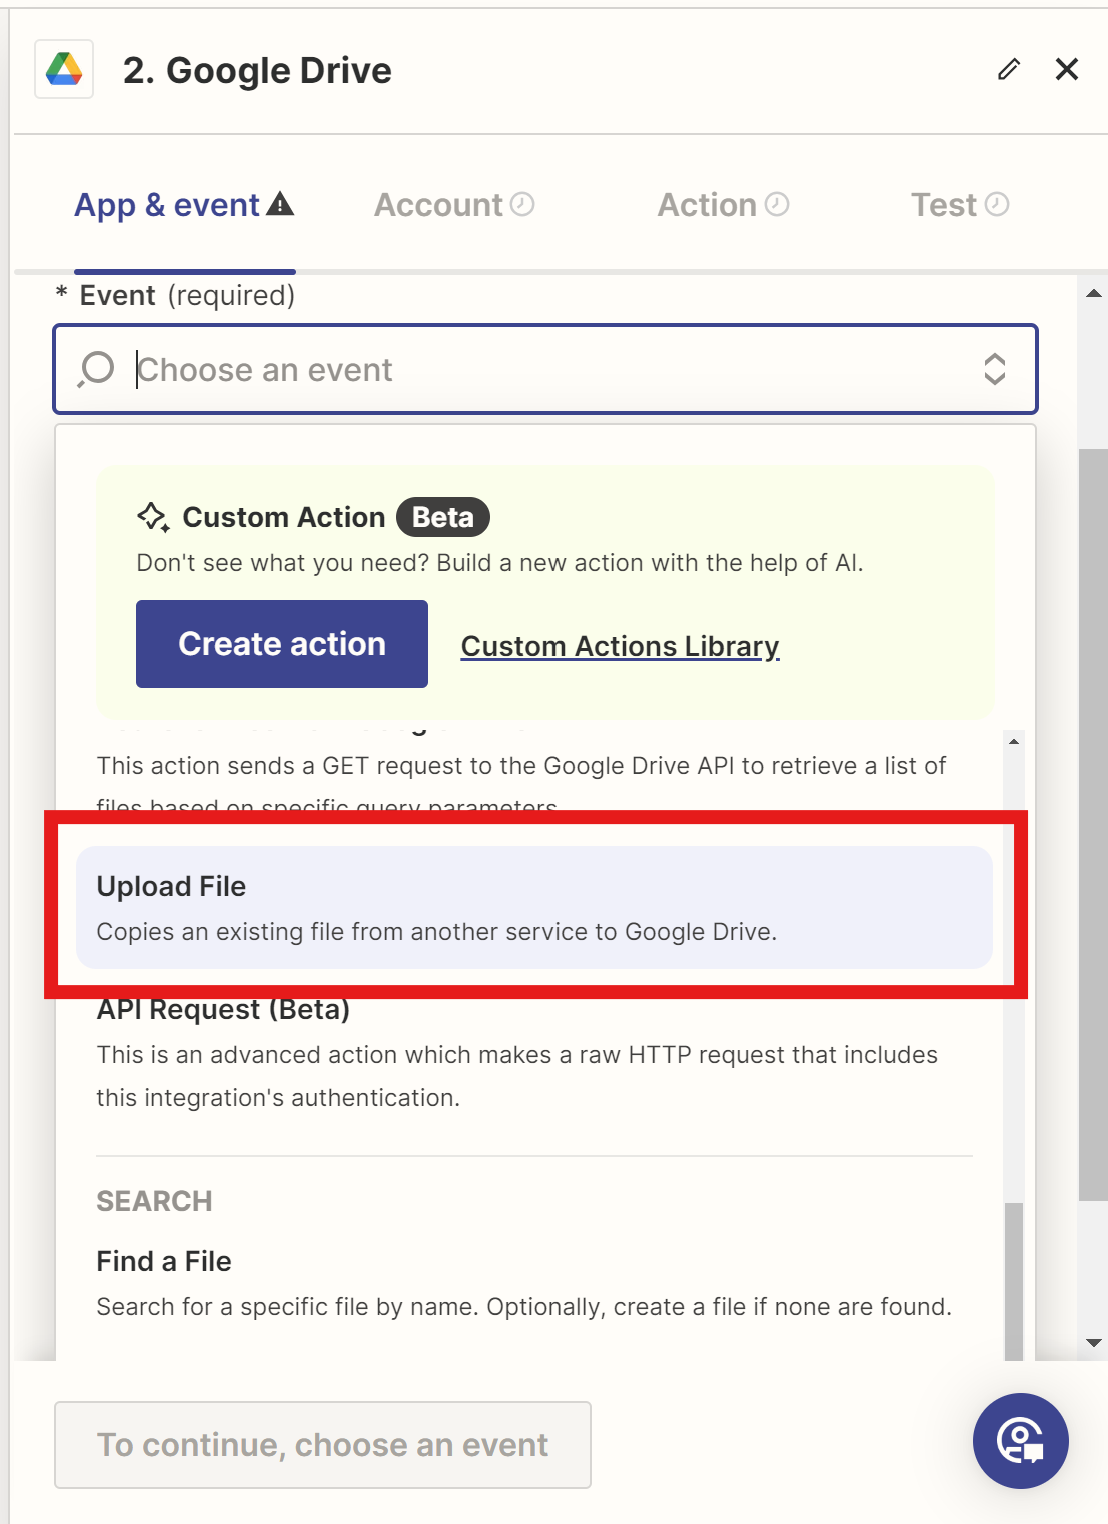
10
Select File to Upload
Give Zapier permission to access your Google Drive account and click Next.
Under action, scroll to the File section to pick which file you want to upload from the Print.App notification.
Select the PDF file from the Print.App notification.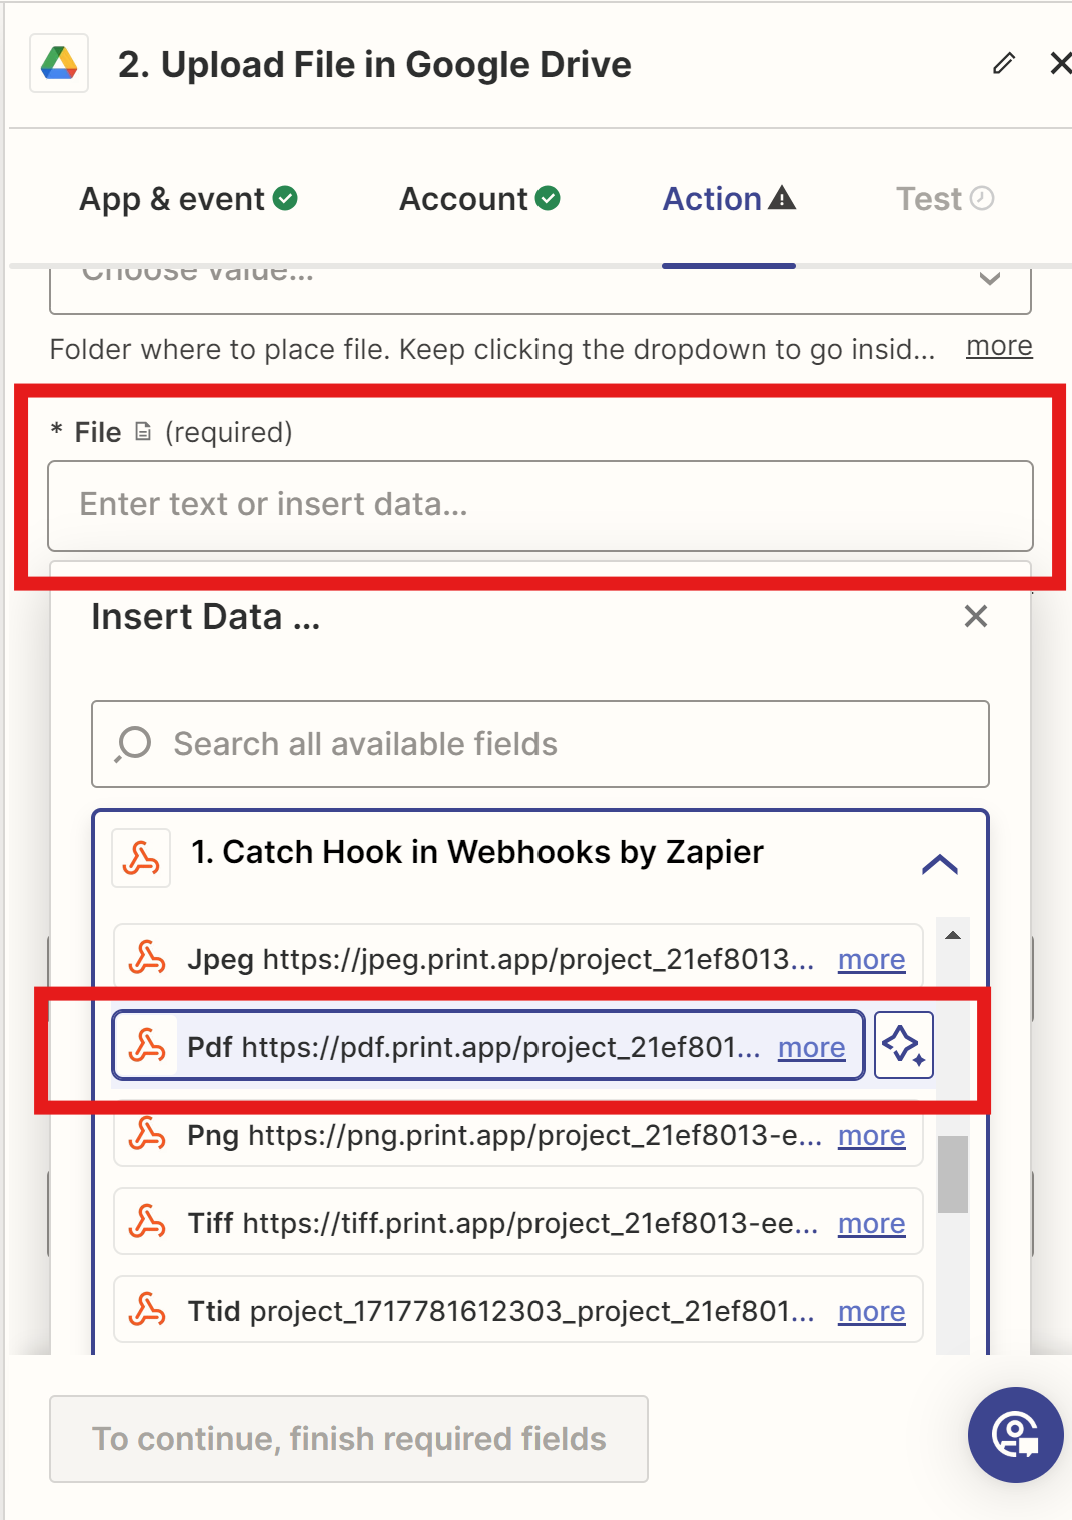
11
File Saved
Click the Test Step and Zapier should send the newly created PDF file to your Google Drive. You can check your Google Drive to confirm.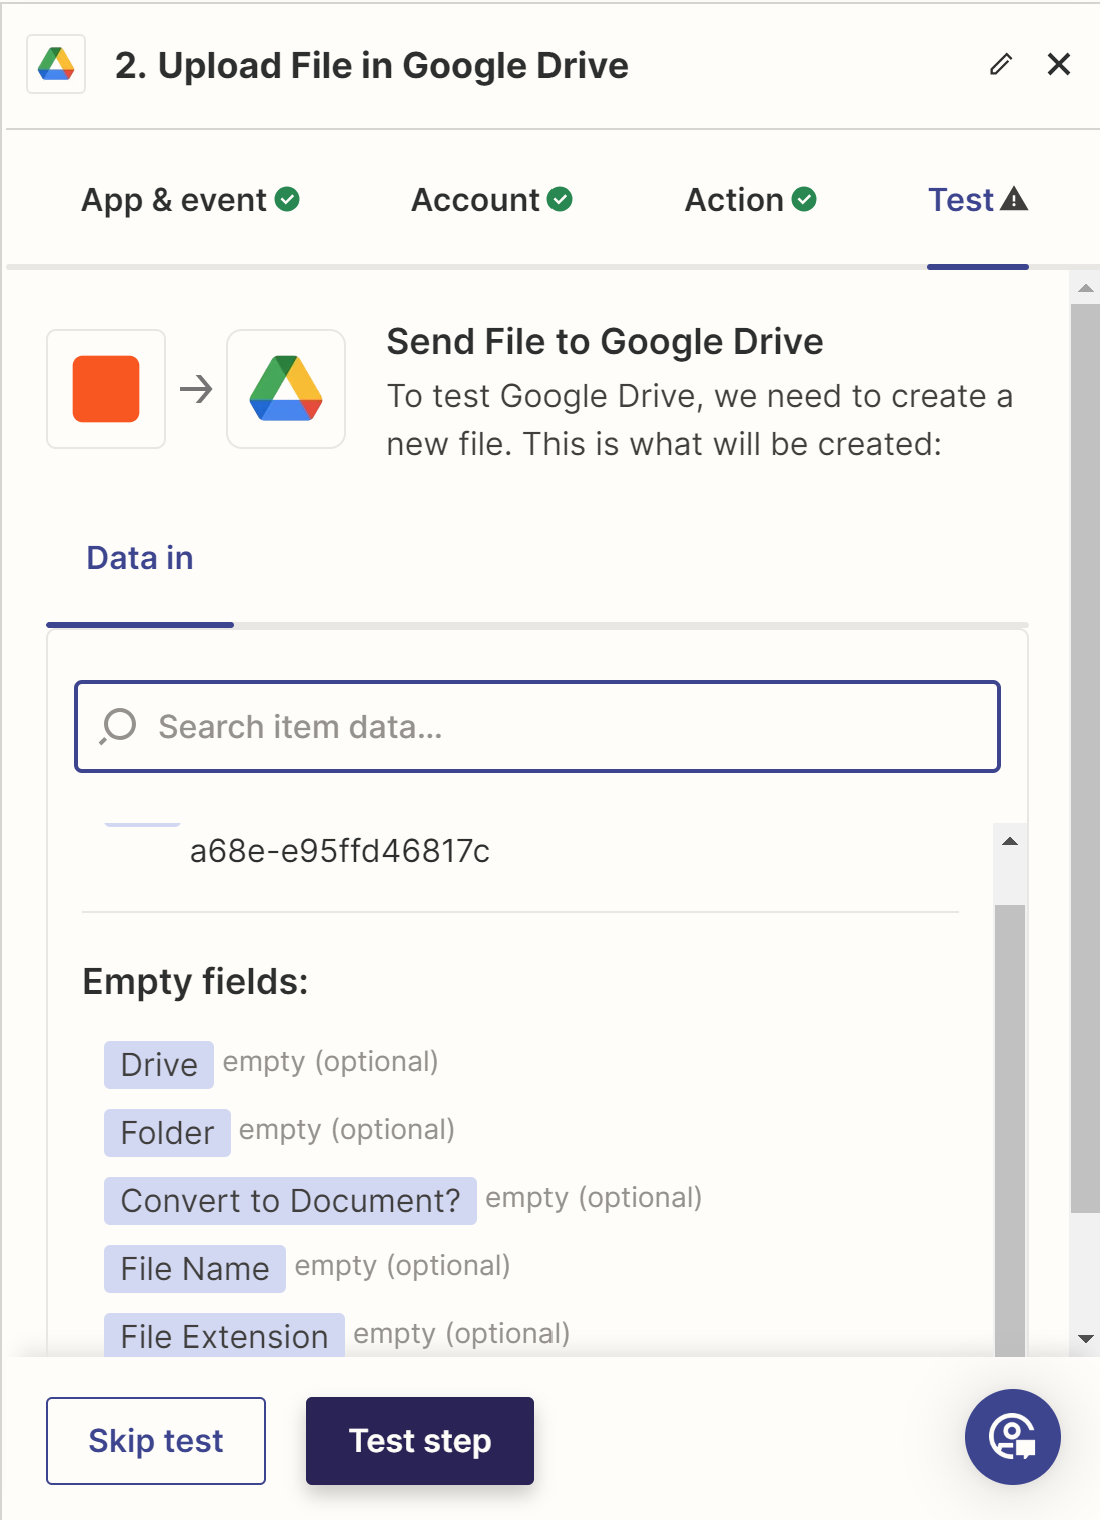
12
Save and Publish
Publish your Zap to save it.